Last Updated on November 28, 2025 by David
25+ years restoring and protecting stone and porcelain in UK homes. Specialises in finish assessment, safe cleaning protocols, and on-site testing. Full bio
Essential Methods for Preserving the Quality of Your Porcelain Tiles
- Choose neutral-pH cleaners for ongoing maintenance; ensure accurate dilutions are used, and always follow up with a clean-water rinse to prevent any residue or stickiness from forming.
- Prior to cleaning, remove grit with a vacuum or a dry microfibre cloth to avoid micro-scratching during the wet cleaning process.
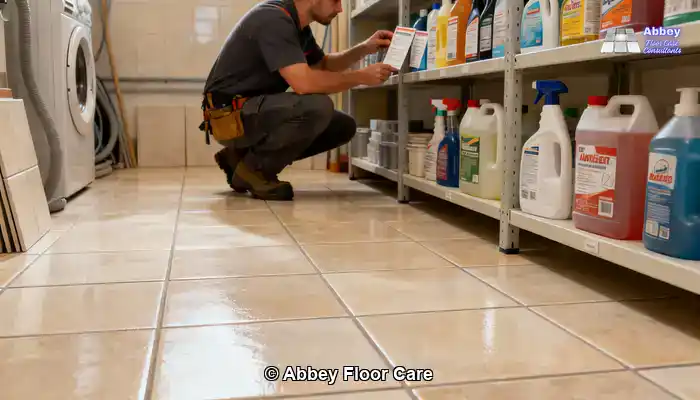
- Conduct a test on unfamiliar or dark porcelain tiles (particularly black ones) in a hidden area before applying strong alkalis or new cleaning solutions.
- Utilise microfibre tools and soft nylon brushes for cleaning grout; steer clear of abrasive pads and harsh chemicals on tile surfaces to preserve their quality.
- Plan for regular deep cleans approximately every 1–3 months, depending on foot traffic, using a two-step method: neutral detergent, gentle agitation of grout, and an immediate clean-water rinse.
Expert Cleaning Techniques Backed by Over 25 Years of Experience
With 25 years of dedicated service in UK homes, we have encountered a broad array of porcelain installations alongside frequent cleaning mistakes that can significantly reduce their lifespan. This article offers practical, field-tested advice rather than abstract concepts—detailing our on-site practices, initial assessments, and simple routines that effectively maintain the aesthetic appeal of floors. Our goal is to equip homeowners and professionals with clear, actionable strategies to prevent common issues like haze, sticky residue, micro-scratching, and particularly unexpected colour changes on darker tiles.
Top Recommendations: Ideal Products for Daily Care of Porcelain Tiles
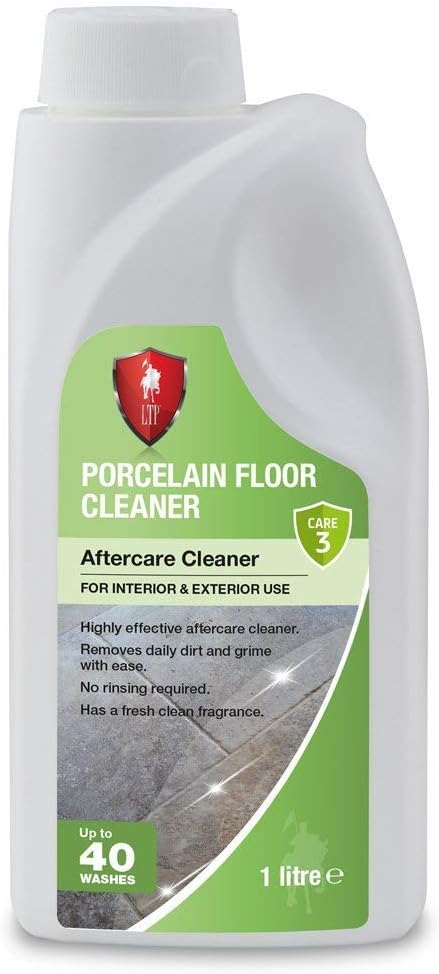
LTP Porcelain Floor Tile Cleaner
|
LTP Grout Sealer Tile Protector Spray Can Aerosol
|
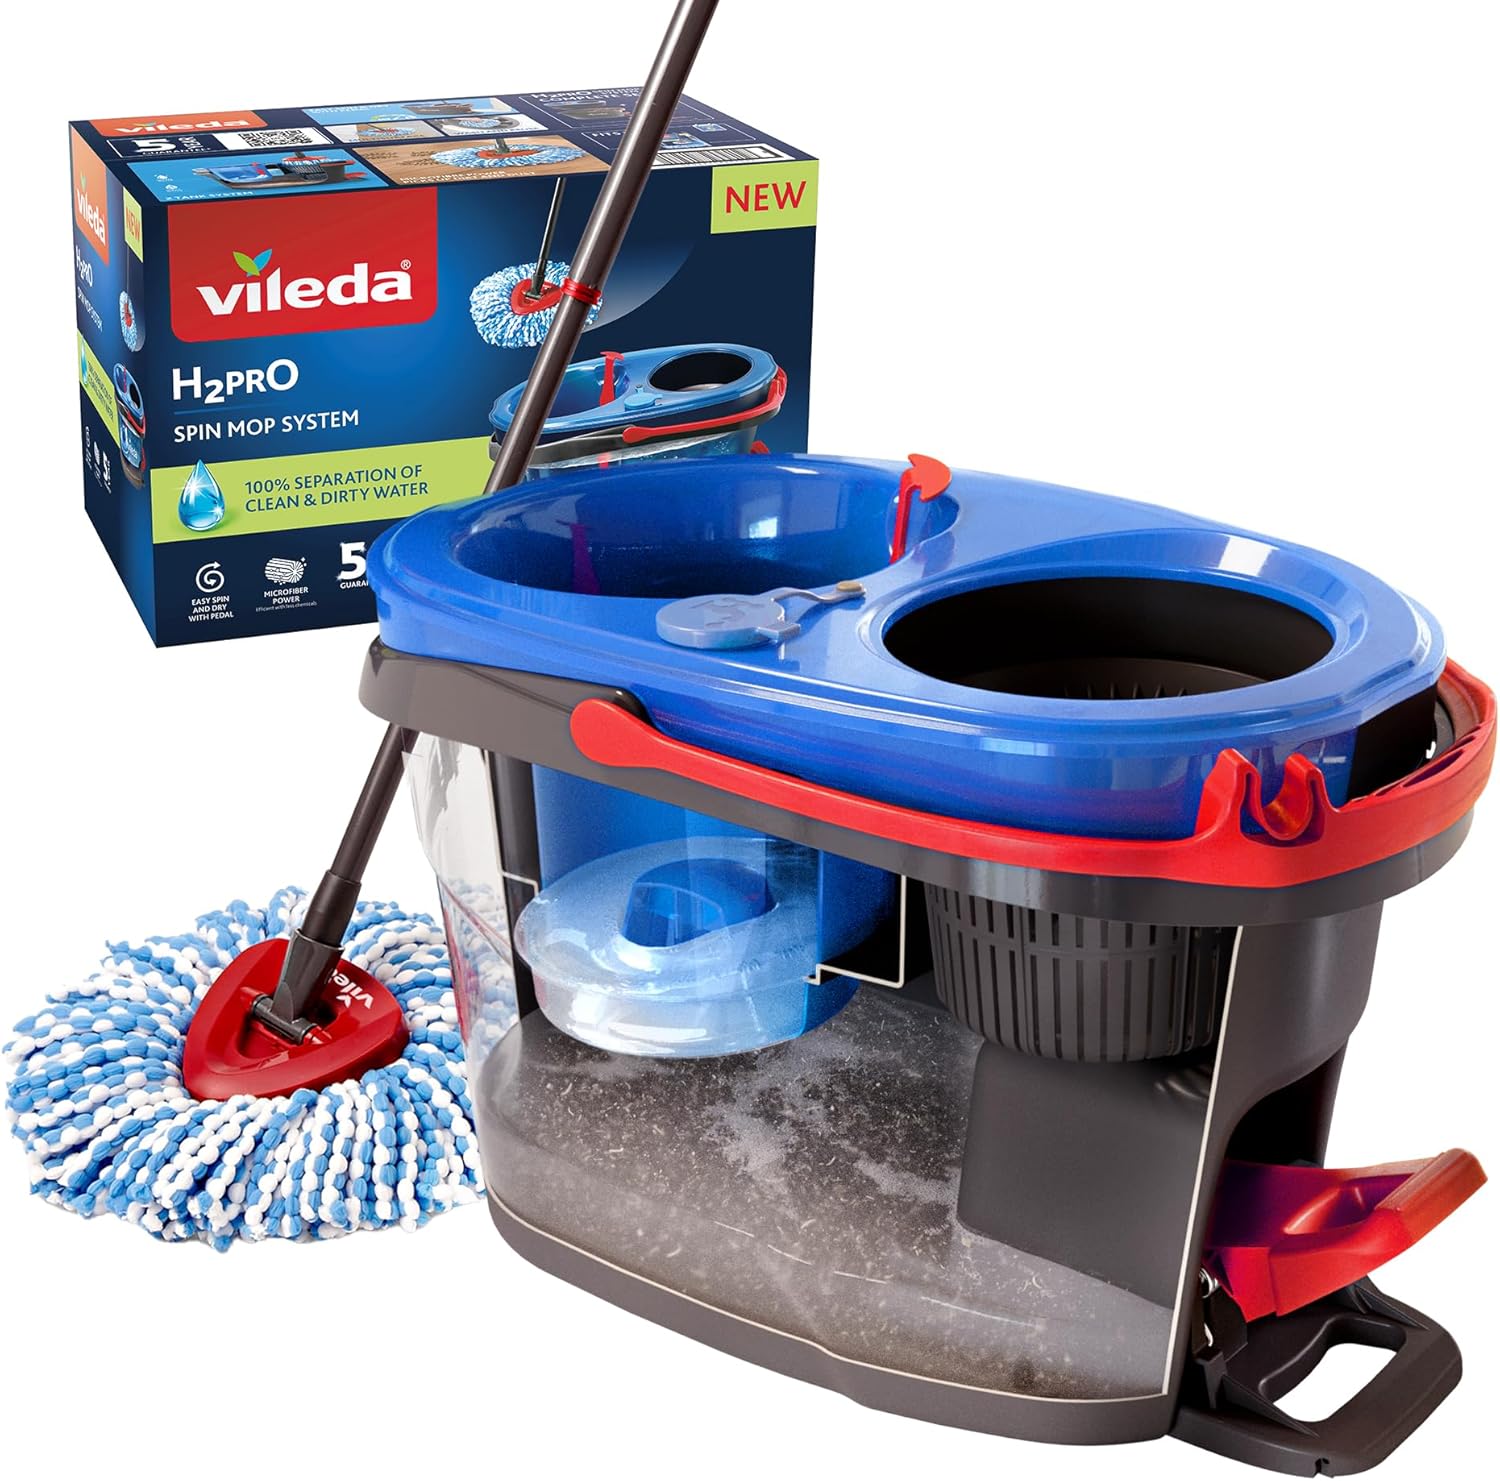
Vileda H2PrO Spin Mop System
|
Our product recommendations are derived from consistent observations made through hands-on site work.
Case note: In 2003, we studied a kitchen where strong alkaline degreasers had created lighter patches on black tiles; our testing revealed that a delicate surface coating had been compromised rather than any alteration in the tile body itself. Such occurrences have shaped our company policy—always conduct a test in an inconspicuous area first, and avoid strong alkalis on unknown dark tiles.
The practical insights shared here are clear and straightforward: favour neutral pH cleaners for routine cleaning, measure dilutions accurately, always follow up with a fresh water rinse, and employ microfibre tools to eliminate grit before beginning any wet cleaning tasks. For polished, rectified, or dark-coloured surfaces, we implement an additional precautionary measure—a brief, documented test that you can replicate at home or discuss with your installer.
For those interested in the underlying standards or manufacturer documentation, we provide scientific and technical references at the end for readers who prefer the laboratory perspective. However, for most homeowners, adhering to the field-proven checks and the straightforward two-stage cleaning method outlined below will help prevent the majority of avoidable finish-related issues.
In-depth Exploration of Porcelain Tiles in UK Homes

What Distinguishes Porcelain Tiles in Practical Applications?
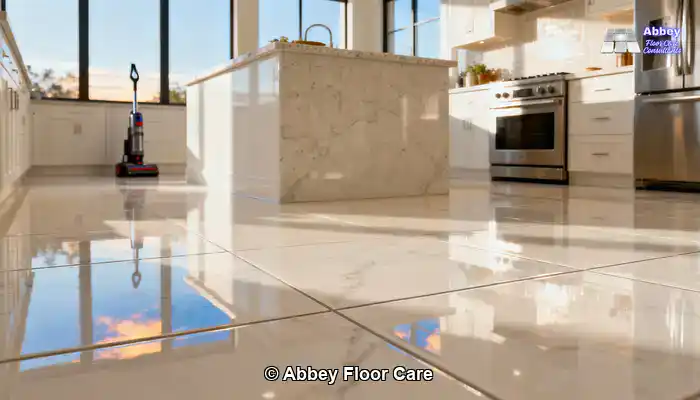
Porcelain tiles are manufactured using refined clays and fired at elevated temperatures, resulting in a dense, low-porosity structure that effectively repels water and common stains. This density allows spills to rest on the surface long enough to be easily wiped away, meaning routine cleaning usually involves a quick wipe and mop rather than a complete strip and restoration.
Durability is the primary benefit that homeowners frequently notice. The dense bodies and hard surfaces of porcelain tiles withstand foot traffic and the movement of furniture more effectively than many alternatives, making the primary objective of cleaning to remove grit and surface films rather than to repair the substrate.
Investigating Various Finishes: Glazed, Polished, and Matt
Glazed porcelain is characterised by a fired glass coating that imparts colour, pattern, and a smooth protective layer. It responds well to neutral cleaners but may develop a film if products containing brighteners or heavy oils are used without sufficient rinsing.
Polished porcelain undergoes mechanical refinement to achieve a high sheen. While this shine is visually appealing, it makes minor marks, residues, and streaks more noticeable, necessitating careful selection of cleaning products and thorough rinsing.
Matt porcelain offers a softer, less reflective finish that hides minor scuffs but can trap residues in textured surfaces if a cleaner is not adequately lifted away. With matt tiles, the focus shifts to effectively removing dirt from the texture rather than merely wiping to restore surface shine.
Recognising Patterns Observed in Real Kitchens and Hallways
Large-format porcelain is the standard in open-plan UK homes, where fewer grout lines create a seamless aesthetic. The reduction in joints means there are fewer areas for soap films to accumulate, although high-traffic walkways can exhibit concentrated wear; thus, targeted cleaning of these paths is essential to maintain a uniform appearance across the entire floor.
Rectified porcelain tiles feature precisely cut edges post-firing, ensuring uniform tile sizes, which allows for very narrow grout joints and a sharp, continuous finish. These tight joints make any film or residue at the edges more noticeable; therefore, spot testing and careful rinsing are crucial to maintain the sharp lines that installers strive to achieve.
Stone effect porcelain mimics the appearance of natural materials without the same chemical sensitivity. It handles neutral cleaners more effectively than real stone, yet imitation stone is not indestructible, so maintaining proper cleaning habits remains vital.
Gaining Insight into Modern Cleaners Through Practical Experience
Neutral pH Cleaners vs. Acidic and Alkaline Cleaners: Field Insights
Neutral pH cleaners are our preferred choice on-site because they effectively remove dirt without damaging finishes. In practice, a neutral solution lifts everyday soils and rinses away cleanly, minimising the risk of film formation on glazed or polished surfaces.
Acidic cleaners can be useful for removing limescale or specific deposits, but frequent use on floors can dull polished porcelain and leave a haze on glazed tiles. They should be used sparingly and only after conducting a careful test in an inconspicuous area to check for any changes in appearance.
Alkaline detergents effectively remove grease; however, strong alkalis have been known to lighten black porcelain on occasion. If you need to use them for heavy kitchen soils, dilute according to the manufacturer's instructions, rinse thoroughly, and conduct a preliminary test on a less visible tile.
Eco-friendly and Non-toxic Cleaning Solutions That Rinse Clean
Eco-friendly cleaners typically utilise plant-based surfactants that are gentle on finishes and safer for households with children and pets. This is why many homeowners prefer them. However, based on our field experience, some eco-formulas can leave a soft film if overdosed or not rinsed adequately, making precise dosing crucial.
Non-toxic sprays can be beneficial for spot cleaning and light maintenance, but they vary in strength. We advise selecting labelled neutral options and ensuring a clean water pass follows their use to prevent any residue from becoming visible on polished or matt tiles.
What Common Household Sprays Often Misstep with Polished Surfaces?
Multi-surface sprays offer convenience but often contain brighteners, fragrances, or silicones that leave a visible film on reflective porcelain. From our experience, these additives initially disguise dirt but ultimately attract more grime, leading to a dull appearance sooner.
Floor detergents marketed for general use may include polish-type ingredients that create temporary shine but leave a tacky layer behind. For enduring results, choose straightforward, neutral detergents without added polishes, and always finish with a clean-water rinse.
DIY mixtures created with washing-up liquid or household cleaners can work for light soils when used sparingly and thoroughly rinsed. From our jobs, we have found that excessive use of DIY mixtures commonly leads to homeowners reporting sticky or cloudy finishes, so it's best to use light doses followed by a final rinse.
Identifying Risks to Porcelain Finishes Based on Observations
Understanding Surface Etching and Gradual Dullness Risks
Porcelain finishes are robust, yet they are not invulnerable. The repeated use of strong acids or highly alkaline cleaners can gradually dull a polished surface or soften a glaze, altering its light reflection. In our experience, this manifests as a subtle loss of sheen rather than an immediate crack or chip, making it easy to overlook until the dullness becomes widespread.
Recognising Residue Build-up Leading to Visible Streaking
Household detergents containing brighteners, oils, or fragrances frequently leave a thin film that becomes apparent on glazed and polished tiles. Our site work has taught us that such residues can make floors appear cloudy and attract more dirt, complicating what should be a straightforward cleaning task into a repetitive chore of mopping to eliminate the haze.
Preventing Micro Scratches Caused by Abrasive Tools and Grit
Abrasive pads and powders rapidly create micro-scratches that trap soil and dull reflective surfaces. On polished porcelain, these fine marks become evident as a loss of clarity; on textured matt tiles, grit can become lodged in the surface profile, making the finish feel rougher underfoot. Regular removal of dry grit is essential to mitigate this wear.
Addressing Edge and Grout Line Staining Transfer Concerns
Grout and joints can retain soap scum or cleaning residues that may transfer back onto tile edges during mopping. We have observed that crisp rectified lines can appear hazy simply because the grout was not adequately rinsed, highlighting the importance of paying attention to joints during the rinsing process.
Understanding Colour Changes on Treated or Low-Quality Tiles
Black porcelain and other deep-coloured tiles may exhibit lightening or patchy tones if they have been surface-treated or are of inferior quality. Our investigations have linked instances of colour change to the use of aggressive alkalis and suspected post-manufacturing coatings rather than any alteration of the base clay itself.
Mitigating Heat and Steam-Related Haze Issues
Steam cleaning can effectively lift soils without chemicals but may leave a mineral haze if water deposits are not promptly removed. In practice, a quick neutral wipe and dry buff post-steaming prevent the faint haze sometimes observed when steam cleaning is performed without a final rinse.
How Do These Risks Develop Over Time?
Wear patterns typically develop slowly and in predictable locations such as walkways, kitchen corridors, and beneath tables. Conducting spot tests and routine inspections allows homeowners to identify early changes and adjust cleaning methods before a finish becomes noticeably degraded, particularly with black porcelain.
Why Should We Exercise Caution with Unknown Black Porcelain?
Black porcelain can resemble higher-quality tiles but may respond differently to cleaning products. Over our 25 years of experience, we have observed that dark tiles can lighten or develop patchy tones after exposure to strong alkalis. When the origin of the tile is unclear, we adopt a cautious approach to avoid irreversible changes.
Addressing Suspected Post-Manufacturing Surface Treatments on Low-Quality Tiles
Surface treatments may sometimes be applied to conceal manufacturing defects or uneven colouring. These coatings can react unpredictably to aggressive cleaning chemicals in ways that the core porcelain would not, which is why a tile that appears fine can change colour when cleaned with harsh products.
How Have Strong Alkali Cleaners Altered Areas in Our Casework?
Strong alkali cleaners have removed or altered surface coatings on certain black tiles we inspected, resulting in visible lighter patches under standard room lighting. The pattern observed was not uniform, indicating that a surface layer had been compromised rather than a change in the tile’s fundamental body.
Conducting Practical Tests in Inconspicuous Areas Prior to Full Cleaning
Inconspicuous tests are vital. Choose a spare tile, a corner behind a plinth, or a tiled area beneath a cabinet. Apply a diluted cleaner at the concentration you intend to use, allowing the recommended dwell time, then rinse and dry. Compare the test area with the surrounding tiles before proceeding with a comprehensive cleaning effort.
The company policy following these incidents is to refrain from cleaning black porcelain unless a safe result is verified through testing. If the test reveals any change in colour or sheen, we recommend discontinuing use of that product and reverting to a neutral pH cleaner or seeking professional advice.
What Should Homeowners Do When They Suspect Treated Poor-Quality Tiles?
Visual checks serve as an effective initial step. Look for inconsistencies in surface gloss, slight pooling at edges, or faint brush marks that do not align with the tile pattern. These indicators may suggest a surface layer that is vulnerable to harsh cleaners.
A small-scale test is the safest method for DIY cleaning. Use a neutral pH cleaner diluted to normal strength, apply it for a short duration, rinse thoroughly, and allow it to dry. If the area appears unchanged after 24 hours, it is a reasonable indication that the cleaner is compatible.
When in doubt, it is wise to err on the side of caution. Avoid strong alkali degreasers and abrasive tools on dark tiles until you receive a clear test result or professional confirmation that the tiles can withstand cleaning.
Implementing Safe and Effective Cleaning Practices for Porcelain Tiles
Establishing Effective Daily Routines for Consistent Tile Care
Daily dust and spot removal help prevent grit from causing abrasive wear. Utilise a dry microfibre mop or a vacuum equipped with a hard-floor setting to gather loose debris before wet cleaning. Quick spot wipes for spills prevent soils from being ground in, reducing the necessity for stronger chemicals.
Weekly light mopping with a measured dose of a neutral-pH cleaner followed by a clean-water rinse keeps films at bay. Change the rinse water as soon as it becomes cloudy, and conclude with a damp-cleaning pass to eliminate any detergent residue.
Choosing Mops and Cloths That Prevent Residue Build-Up
Microfibre mops and cloths are the optimal all-round choice because they effectively lift soils and rinse out cleanly. Avoid string mops that retain dirty water and inexpensive sponges that hold oils. Launder microfibre without fabric softener to prevent residues from transferring back onto the floor.
Use soft brushes exclusively for grout or textured matt surfaces — opt for nylon or soft polymer brushes; never use wire or stiff abrasive pads on the tile surface. Gently agitate the grout lines and ensure thorough rinsing afterwards.
Mastering Dilution and Rinsing Techniques to Prevent Sticky Residues
Measure every time. Overdosing is the primary cause of tacky floors. Always use the manufacturer's dilution chart and a measuring jug when mixing. If a product lacks guidance, start at half the typical dose and perform a test.
Rinse thoroughly after cleaning. A single clean water pass with a fresh microfibre cloth removes detergent film and restores the natural appearance of glazed or polished porcelain. Dry buffing with a clean cloth eliminates fine streaks on reflective surfaces.
Achieving a Polished Finish with Effective Rinsing and Drying Techniques
Two-stage cleaning is highly effective: (1) use a neutral detergent mop to lift soils, (2) follow immediately with a clean water mop to remove any residue. This approach prevents the gradual build-up that leads to cloudiness and drag on matte finishes.
Dry buffing with a soft microfibre cloth after the floor has dried restores shine to polished tiles and evens out the appearance of matte tiles. For larger areas, utilise a dry pad or, if available, a low-speed machine with a clean microfibre bonnet.
Comparing Porcelain to Other Common Flooring Options in the UK
Understanding Porcelain Care in Relation to Natural Stone
Porcelain is low-porosity and chemically stable when using neutral cleaners; it tolerates controlled water exposure and simple detergents.
Natural stone (such as limestone, marble, slate) often reacts adversely to acids and requires stone-specific neutral products alongside sealed protection.
Practical takeaway: treat stone with increased caution, avoid acidic cleaners, and always test products on stone prior to full application.
Comparing Porcelain to Luxury Vinyl: Film Sensitivity and Slip Risks
Porcelain rinses clean and seldom becomes slippery if residues are effectively removed.
Luxury vinyl can hold films that create a glossy appearance and slipperiness when overdosed.
Practical takeaway: use very light doses on vinyl, avoid waxy or polish additives, and maintain separate mop heads when transitioning between the two.
Managing Moisture at Joints: A Comparison of Porcelain and Laminate
Porcelain handles routine wet mopping without damage.
Laminate is sensitive at joints and edges — excessive water can lead to swelling or joint failure.
Practical takeaway: dampen microfibre only for laminate; apply standard porcelain mopping methods to tiles, but never use a wet routine intended for tile on laminate surfaces.
Comparing Porcelain to Engineered Wood: Ensuring Finish Protection and Cleaner Compatibility
Porcelain is durable; engineered wood relies on its finish and can develop haze or strip if cleaned with the wrong detergents.
Practical takeaway: use dedicated wood cleaners for engineered floors and avoid using tile deodorisers or strong alkaline products on wood surfaces.
Understanding Porcelain versus Ceramic: Exploring Porosity and Residue Patterns
Porcelain is denser and more forgiving with neutral products.
Ceramics can be more porous, displaying films sooner, particularly on lower-quality glazes.
Practical takeaway: keep doses modest and rinse carefully on ceramic; porcelain can often tolerate the same neutral approach with a bit more margin for error.
Reliable Long-term Maintenance Strategies for Homeowners
Protecting Grout Lines to Prevent Film Migration
Regular grout maintenance prevents residues from transferring from joints onto tile surfaces. Gently scrub grout with a soft brush during the rinsing stage, using a neutral cleaner; avoid harsh alkalis that can weaken grout over time.
Seal grout where appropriate to minimise staining and product absorption. Sealing is a maintenance task for grout, not a substitute for effective rinsing, and it aids in maintaining the sharp appearance of rectified lines.
Mitigating Wear in High-Traffic Areas with Mats and Pads
Entry mats capture grit before it can abrade the finish. Opt for low-profile, firm-backed mats and clean them regularly to ensure they remain effective rather than becoming additional sources of soil.
Furniture protection, such as felt pads, mitigates micro-scratching from movement. Check and replace pads periodically to prevent hardening or trapping dirt against the tile.
Seasonal Deep Cleaning Methods That Prevent Haze Formation
Scheduled deep cleans every 1–3 months (depending on the household) prevent soils from accumulating into films. Employ a neutral detergent at the correct dilution, gently agitate the grout, and immediately follow with a clean water rinse to eliminate residues.
Targeted use of alkaline cleaners is acceptable for heavy kitchen grease but should only be employed in diluted form, with prompt rinsing and prior testing—especially on dark or potentially treated tiles.
Routine Checks to Extend the Lifespan of Your Finish
Routine visual inspections for changes in sheen, streaking, or colour shifts allow for early intervention. Keep a record of the products used to trace the cause of any changes if they occur.
Maintain clean tools — fresh microfibre pads, clean buckets, and accurate dosing prevent cross-contamination and accidental overdosing that results in sticky or cloudy floors.
Frequently Asked Questions from UK Homeowners
Can Vinegar Cause Damage to Porcelain Tiles?
Vinegar is acidic and can dull polished or sensitive glazed surfaces if used frequently or at full strength. For everyday cleaning, avoid vinegar on porcelain; if necessary for a specific stain, dilute heavily and conduct a test in a hidden area first.
Are Steam Cleaners Safe for Use on Porcelain?
Steam can effectively lift dirt without chemicals, but it may leave a faint mineral haze if not rinsed and dried afterwards. Steam lightly, then follow with a clean-water rinse and dry buffing to prevent deposits from appearing on polished or matt finishes.
How Frequently Should Porcelain Be Deep-Cleaned?
The frequency of deep cleaning depends on foot traffic: for most households, every 1–3 months is a reasonable timeframe. High-traffic kitchens and hallways may require monthly attention; quieter rooms can extend the period. Always finish with a clean water rinse.
What Is the Safest Everyday Cleaner for Porcelain Tiles?
A measured neutral pH cleaner is the safest everyday option. It effectively lifts typical soils, rinses clean, and reduces the likelihood of film, haze, or chemical reactions occurring on porcelain finishes.
What Tools Aid in Preventing Scratches on Porcelain?
Utilise microfibre mops and cloths for routine cleaning, vacuum or dry dust to remove grit first, and ensure furniture is fitted with felt pads. Avoid abrasive pads and powders on tile surfaces; only use soft nylon brushes on grout or textured areas.
Do Fragranced Detergents Cause Issues on Porcelain Tiles?
Fragranced or polish-type detergents often contain brighteners or oils that leave a thin film and attract more dirt. If you choose to use them, apply sparingly and always perform a clean-water rinse to remove any residue.
What Should I Do If a Tile Changes Colour After Cleaning?
Cease using the product immediately, rinse the area thoroughly with clean water, and allow it to dry. Compare the affected tile to a spare or concealed tile; if the change is limited to the surface, specialist restoration or professional advice may reverse it. However, if the body of the tile has changed, the effect may be permanent.
References for Further Reading on Porcelain Tiles
Below are authoritative references to scientific articles and standards regarding the quality, durability, and chemical resistance of porcelain tiles. These links lead directly to leading academic repositories or official organisations where you can access abstracts and sometimes full articles.
- Porcelain Stoneware Tiles with Antimicrobial Action – ScienceDirect
(A study examining porcelain tile composition and chemical durability.) - Chemical Hardening of Glazed Porcelain Tiles – Wiley Online Library
(Research on porcelain tile structure and surface performance.) - Porcelain Tile Certification Agency – PTCA Standards
(Information about PTCA certification and minimum quality criteria for porcelain tiles.) - ANSI A137.1 – American National Standard for Ceramic Tile
(Details on standardized porcelain tile performance and testing.) - Porcelain Tile: Almost 30 Years of Scientific-Technological Evolution – ScienceDirect
(Review of technical development and properties of porcelain tiles.) - ISO 13006 – International Standard for Ceramic Tiles
(Global definition and quality standards for porcelain and ceramic tiles.)
The Article Will Modern Cleaners Damage The Finish On Porcelain Tiles? first found on https://www.abbeyfloorcare.co.uk
The Article Do Modern Cleaners Harm the Finish on Porcelain Tiles? appeared first on https://fabritec.org
The Article Do Cleaners Harm the Finish on Porcelain Tiles? Was Found On https://limitsofstrategy.com